
Have you been waiting all year for pumpkin spice lattes and scarves? Are you thrilled about the cooler weather and changing leaves? Do you want your home to proudly display your fall spirit? If the answer is yes to all of these questions, check out these DIY pumpkin projects that prove that you can do more with your fall and Halloween decorations than the standard jack-o’-lantern.
Sparkly Pumpkins
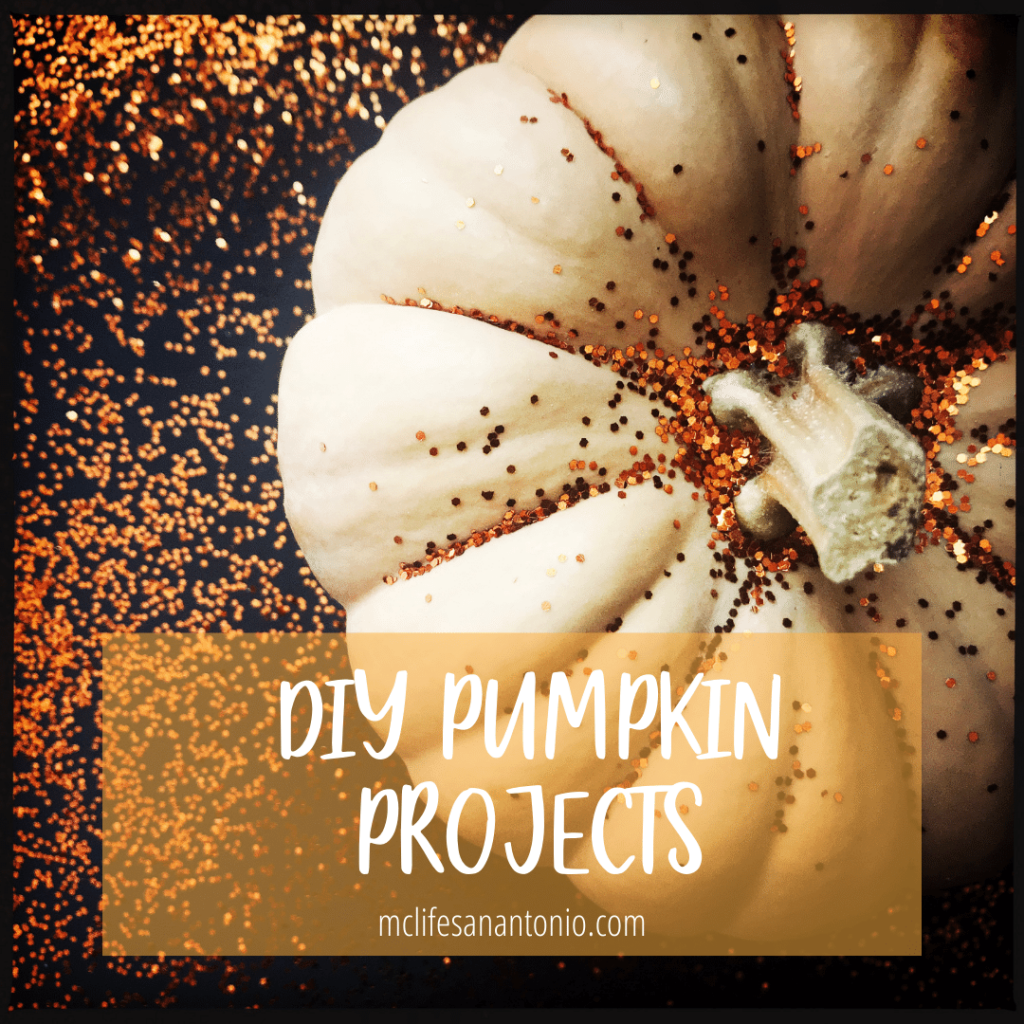
If you have little kids, they will love making glamorous pumpkins covered in glitter. All you need to do is brush your pumpkins with glue and then dust on the glitter. You may want to do this outside or lay down a tarp because you don’t want to be finding glitter in your carpet for months.
Some other sparkly options include decorating your pumpkins with rhinestones, thumbtacks, or sequins. You and your family can choose to stick in these shiny objects in any pattern on your pumpkin. Cover one section full of thumbtacks, make swirls and spirals with rhinestones, or cover the whole thing with different shaped sequins. The options are limitless!
Costume Pumpkins
This is another fun and quirky way to show your Halloween spirit. Dress your pumpkin up in a wig, mask, or cloth costume. For example, you can tie a masquerade mask around your pumpkin and give it a feather or other flare to make it look like it’s ready for a ball. Cut out bits of felt to make your pumpkin an eyepatch, hat, and sash to make it look like a pirate. Or wrap your pumpkin in gauze and glue on some googly eyes to create a mummy pumpkin.
Upscale Pumpkins
If you really feel like getting crafty, the decoupage pumpkin style is for you. Here’s a quick how-to from CountryLiving:
- Lay down wax paper over your work area
- Pour Mod Podge Matte decoupage sealer into a bowl
- Press the pattern and smooth out air bubbles
- Repeat step three until the entire pumpkin is covered in the pattern (Hint: You may want to suspend your pumpkin and work on half at a time so it can dry before you move to the next side)
- Spread a thin coat of Mod Podge over your pumpkin
- Dry your pumpkin for an hour and then apply a second layer of Mod Podge
- Let your pumpkin dry for 24 hours
If you want an easier, upscale option, cover your pumpkin in black lace. This is sure to take your Halloween decorations to a whole new level of class.
Wordy Pumpkins
Our final DIY pumpkin suggestion is to make your pumpkins a little chatty. You can paint or put stickers on your pumpkins that spell out “Boo,” “Trick or Treat,” or other Halloween sayings. Go for puns, jokes, or the classics. Have your pumpkins talk to each other or create a word puzzle that leads to a special treat. You can make this as clever or as simple as you like.
While you can always go for a traditional jack-o’-lantern on Halloween, why not try to mix it up with new patterns and decorating techniques? Make your pumpkins match your fall decor and let your creativity shine with these DIY pumpkin projects!